Oh man, I totally meant to get this post cranked out a lot sooner than now. The Great Fried Doughnut Experiment – as I have lovingly dubbed it – occurred all the way back on Labor Day [where the heck did September go, anyway?]. But then time got away from me, and then WordPress {what powers this blog} kept having technical issues, and I was too lazy to troubleshoot said issues. Yeah, I know I’m a punk.
 Yay for pretty doughnut graphics.
{Original doughnut graphic from The Noun Project; designed by Jacob Halton, and edited by me.}
No more excuses. The time to talk about these amazing doughnuts is right meow. Before I begin, I want to mention that this is going to be a slightly atypical post. And by atypical, I mean that I’m not going to post the entire recipe and instructions. Instead, I’m going to share photos, our experience with making the doughnuts, and some lessons learned/tips. Okay, disclaimer is over. Let’s do this.
This doughnut recipe comes from the infamous Pioneer Woman. If you haven’t heard of her, you probably need to reevaluate your life choices. Anyway, I found this recipe on her website back in 2010. I was obviously intrigued – I mean, c’mon, these are homemade doughnuts. But I mentally filed away the recipe because – to be perfectly honest – it intimidated me. Yeast dough. Hot oil. Sounds like the potential for a disaster to me.

We glazed our doughnuts, then rolled some of them in cinnamon sugar and topped others with chocolate glaze. I’d highly recommend experimenting with your glazes/toppings.
Fast forward to summer 2014, and I’m now living with a new roommate in the Lou [Hi, Dani!], and it just so happens that she also likes to bake [best roommate situation ever]. And one fine day awhile back, Dani asked me if I’d be willing to attempt some fried yeast doughnuts with her at some point. I told her I was definitely down for that, but admitted that I’m a wimp and that the doughnuts kinda sorta intimidated me.
Then one day we officially decided that The Great Fried Doughnuts Experiment was going to be our Labor Day project. So we spent the entire morning of our lovely day off making doughnuts [and I gotta give credit where credit is due – Dani’s mom also helped us out a bit].

I’d like to pause for a moment to dedicate this picture to my SIUC lady friends. Because SPRANKLES.
And you know what? It really wasn’t that bad. Maybe working with another person made everything less terrifying, but I was pleasantly surprised. {Yes, I realize that this is coming from someone with a freakin’ KitchenAid mixer tattoo on her arm, but hey, they really are doable. I swear.}
These doughnuts are light, fluffy, delicate, and sweet. They’re certainly not calorie-free, but screw calorie counting anyway. The doughnuts are not bread-y, and they’re not dense; they are perfect. The doughnuts are what I’d expect to find in a spectacular doughnut shop.

Check out the interior of that doughnut. It’s so fluffy!! Also, I need to paint my nailz a pretty color.
I think it goes without saying that The Great Fried Doughnut Experiment was an astounding success.

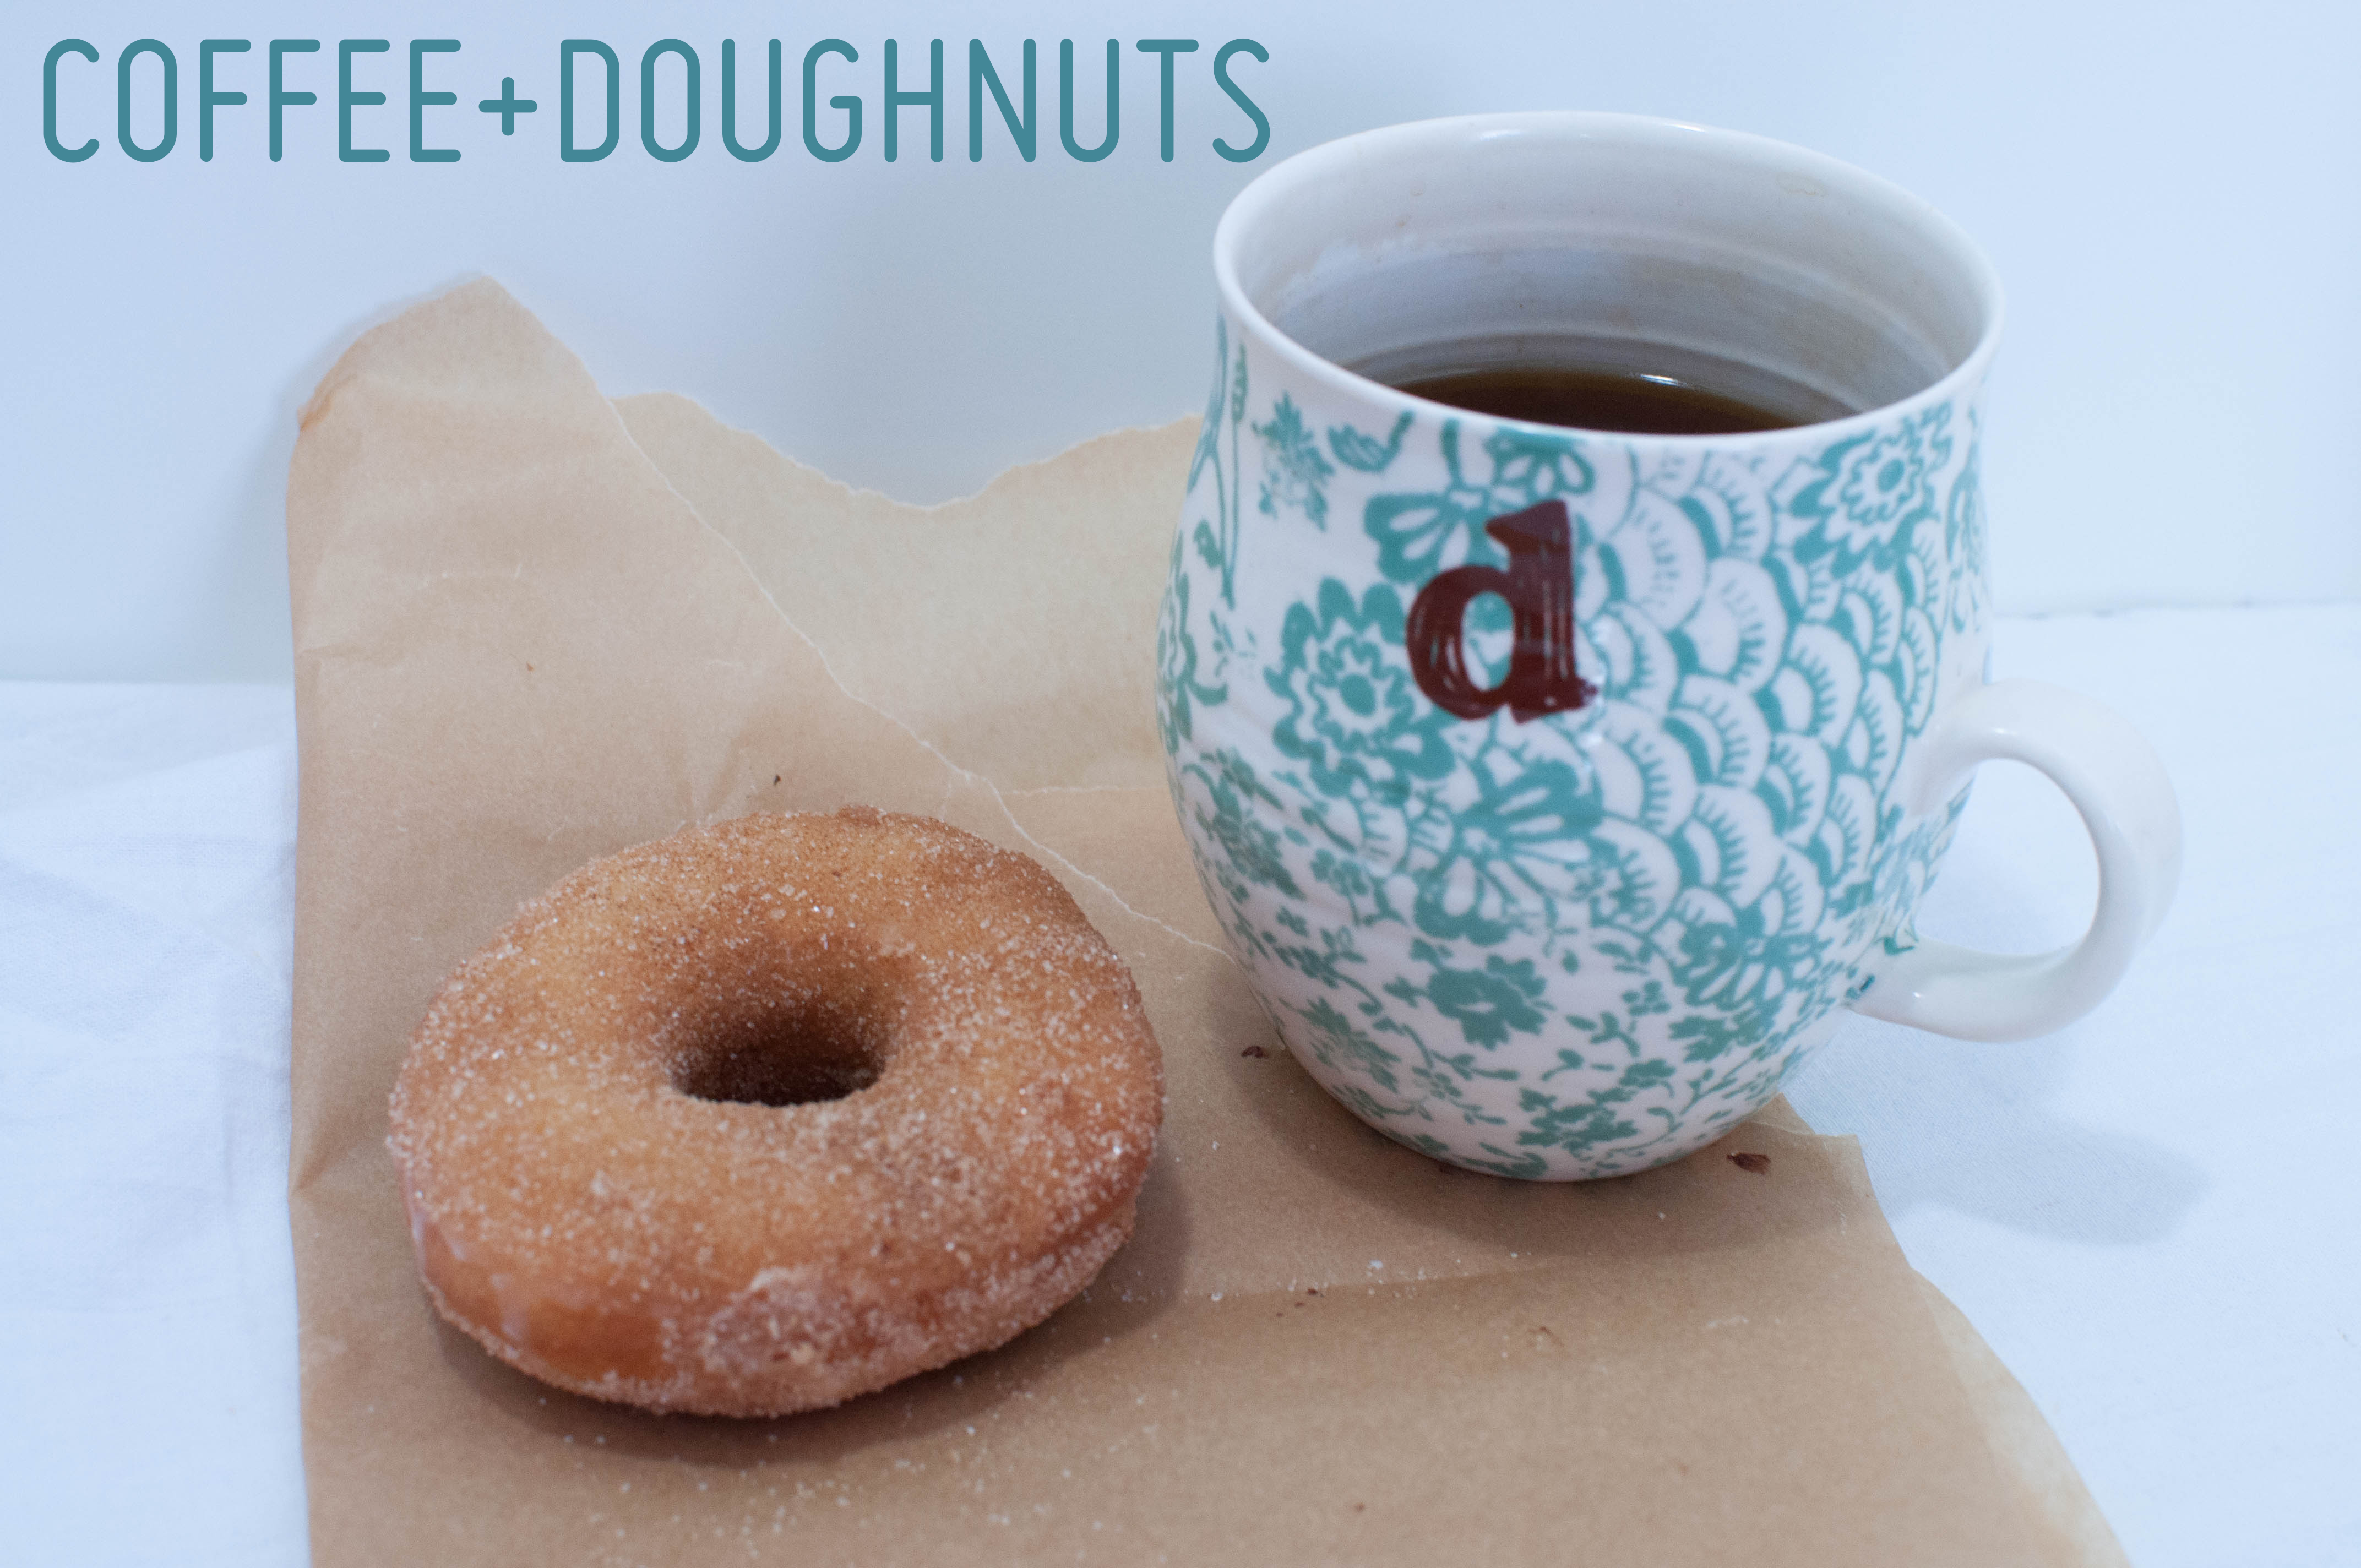
Coffee and doughnuts were made for each other. I’m also in love with that little ‘d’ mug from Anthro. ‘D’ is for Darcie, and perhaps more importantly, ‘D’ is for DOUGHNUTS!
// // // // // // // // // // // // // // // // // // // // // // // // // // // // //
Homemade Glazed Doughnuts
I’m not going to attempt to reinvent the wheel when it comes to writing up this recipe; The Pioneer Woman already did a pretty awesome job at making step-by-step directions. If you’d like the recipe, you can get it from Ree, The Pioneer Woman. Instead, I’ll offer our tips/”lessons learned” from our experiment.
 [Apologies for the not-so-great iPhone photos. I figured getting my fancy camera and brand new lens that close to hot oil was a bad choice.]
The Process:
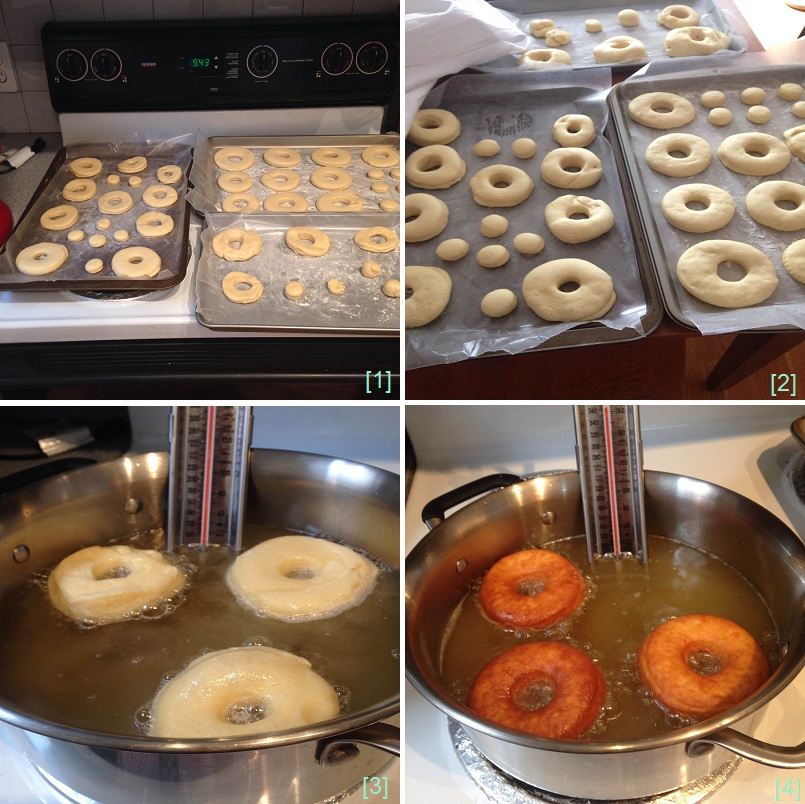
[1] We cut out the dough into the doughnut shapes so that they could rise on the cookie sheets. We also put wax paper plus a bit of flour on the sheets to prevent the dough from sticking. You could also use parchment paper.
[2] The doughnuts have risen; you can see how puffy they look. They’re very light. And also fragile, so handle them with care.
[3] Frying one side of the doughnuts.
[4] Almost done frying! Look at that golden brown color!
Tips/Tricks for Doughnut Success:
– Create a system for efficiency: You’re going to need to create an assembly line type of system to work this properly. For example, before you go tossing all of the doughnuts into the hot oil, try frying just one doughnut as a trial run. Also, I’d argue that this project is really a two person job. I think it might be too hard to multitask with the frying/glazing process by myself.
– Monitor the oil temperature very closely: The temperature of your oil and how consistent it stays is really dependent on your stove. Use a thermometer to monitor the temperature, and be very adamant about checking it constantly. Frying oil is a little tricky, and you do need to exercise caution.
– Experiment with different toppings: Various toppings – chocolate, cinnamon sugar, etc. – are really fun. I’d encourage you to experiment with fun toppings [especially sprinkles].
– Doughnuts are best when eaten on the day that they’re made: Unfortunately, these babies don’t really keep well. I mean, I was still eating them the following day, but they really are best when eaten fresh.
If you’ve ever wanted to make fried, yeast doughnuts at home, you need to just bite the bullet and do it. I hope this post helps encourage you – it was a lot of fun, and I’d definitely do it again at some point. But not very often because I’d probably eat ALL of the doughnuts. 🙂
Leave a Reply